
Billing
The billing feature offers the following options to users:
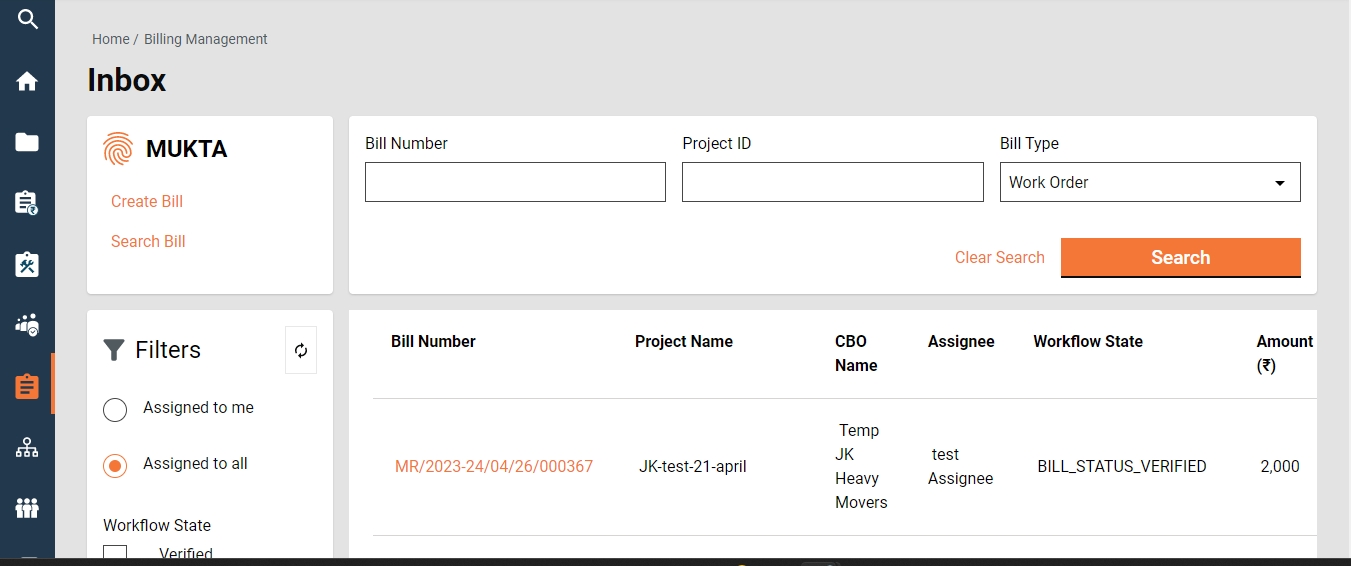
Inbox
Home Page > Bills
From the Home Page on click of the Bills, the Inbox Page is displayed.

On the left side on the top feature menus are displayed.
On the bottom left side, the Filters Panel is displayed with the below filters.
Assigned to Me - The only bills assigned to the logged-in user are displayed on the right side window.
Assigned to All - It is default selected and hence the bills assigned to anyone are displayed on the right side window.
Ward- It filters the application based on the ward selected and then displays the result on the right side window.
Workflow States - It appears only when the application type filter is selected and filters the application based on the application status selected and then displays the result on the right side window.
On the right side of the top, search parameters are displayed, which allow you to search the bill by Bill Number, Project ID, and Bill Type.
On the bottom right side, a window is provided to list the bills based on default settings and applied filters and search parameters.
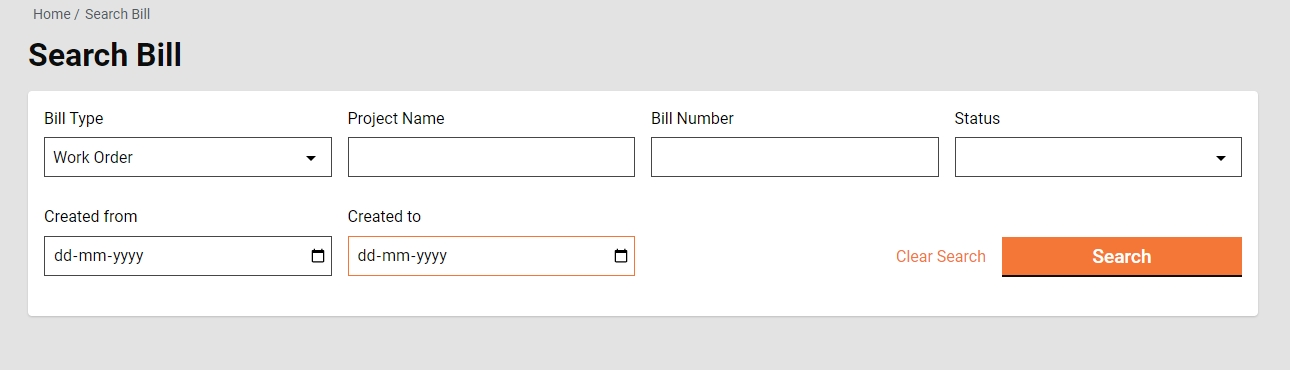
Search Bill
Home Page > Bills > Inbox > Search Bill
The search Bill enables ULB employees to search for a specific Bill using different search parameters.
Search Criteria
Ward
Bill Type
Project Name
Bill Number
Status
Created From Date
Created To Date
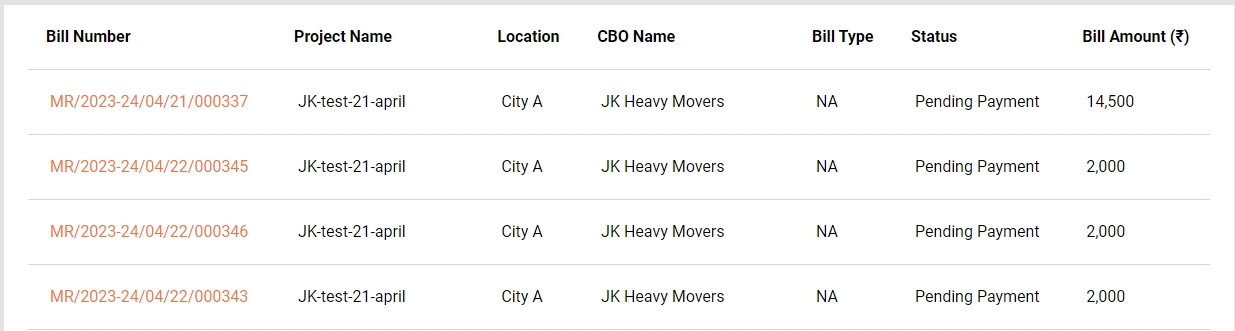
Search Result
Bill Number
Project Name
Location
CBO Name
Bill Type
Status
Bill Amount
View Bills
Home Page > Bills > Inbox > Search Bill > Search Results
Click on the Bill Number to view the Bill details.
Complete bill details are displayed along with attached documents and the option to download the bill in PDF.
Wage Bill Details


Purchase Bill Details


Supervision Bill Details


Create Bills
Home Page > Bills > Inbox > Create Bill
To create a bill for a project, the work order for the project is searched using the search work order and opened to view the details. Then from the view work order page, the action Create Purchase Bill is clicked. Other bills, wages and supervision are created automatically.
A work order is searched using the Search Work Order and the search result is displayed.
Click on the Work Order Number to view the work order details.
Click on the Create Purchase Bill from the action.
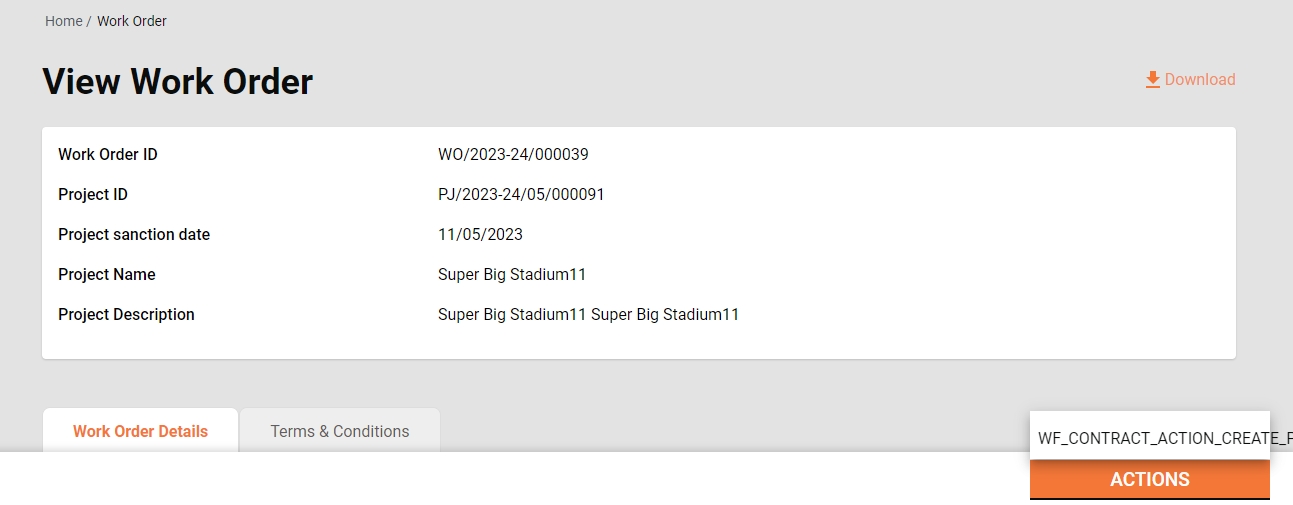
Create Purchase Bill page is opened.
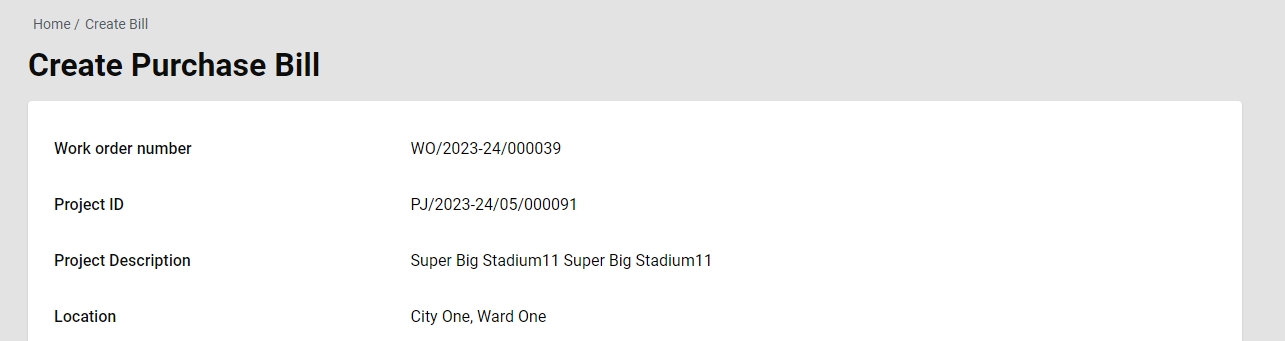
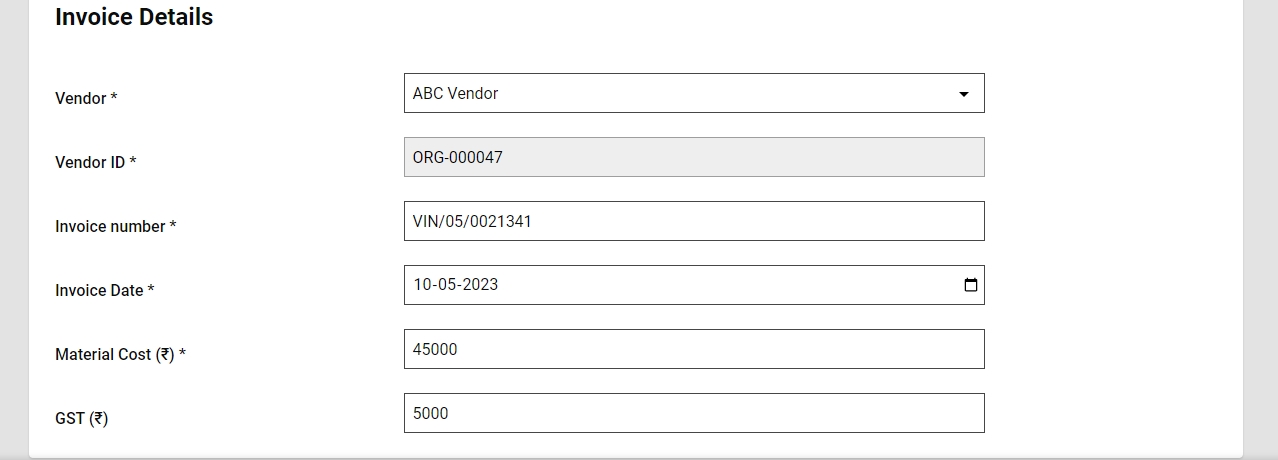
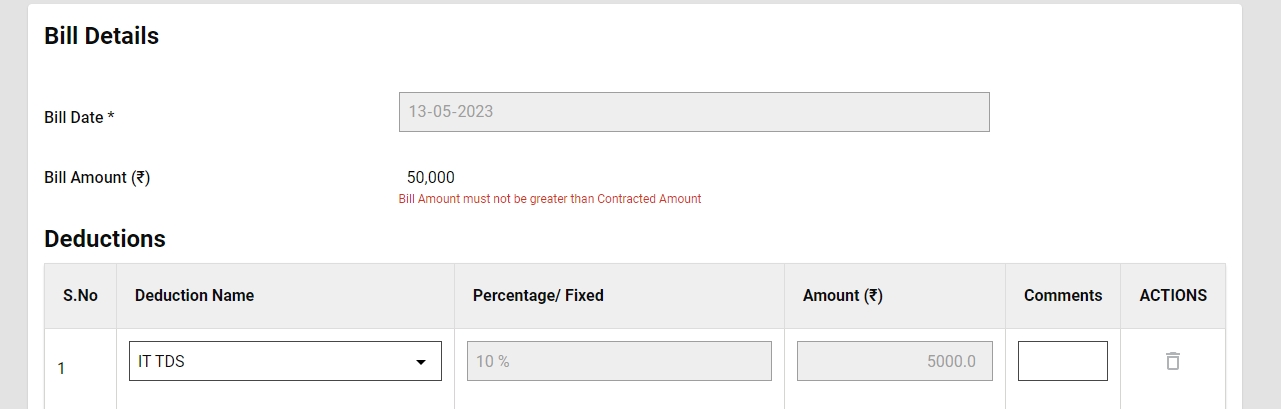
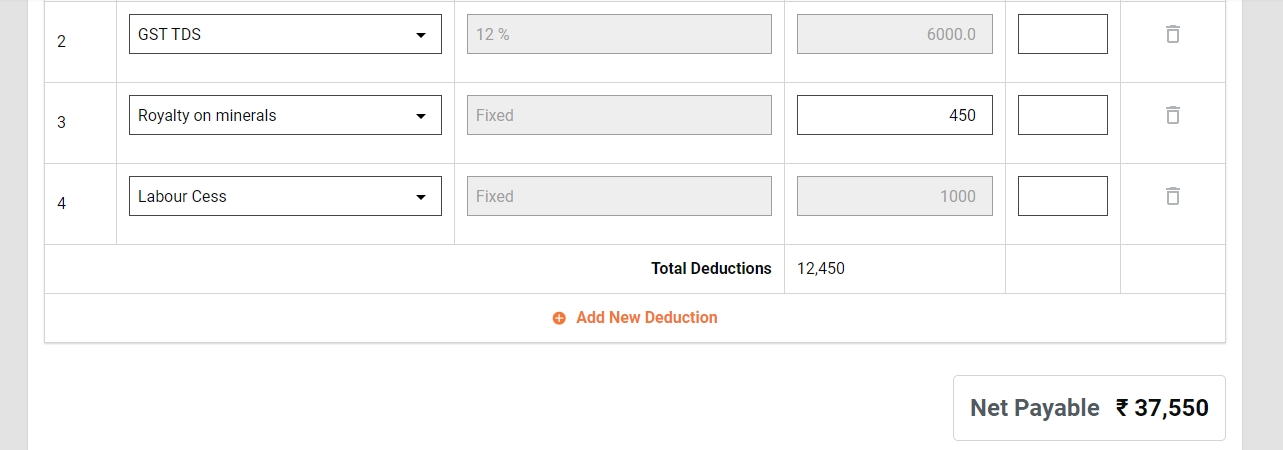
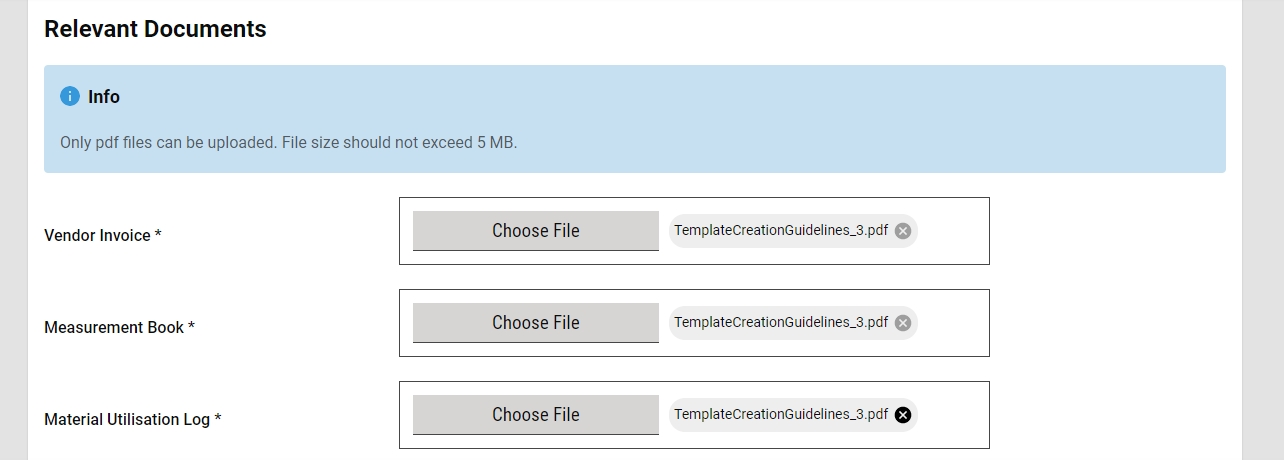

Fill in all the relevant details properly and then forward the application.
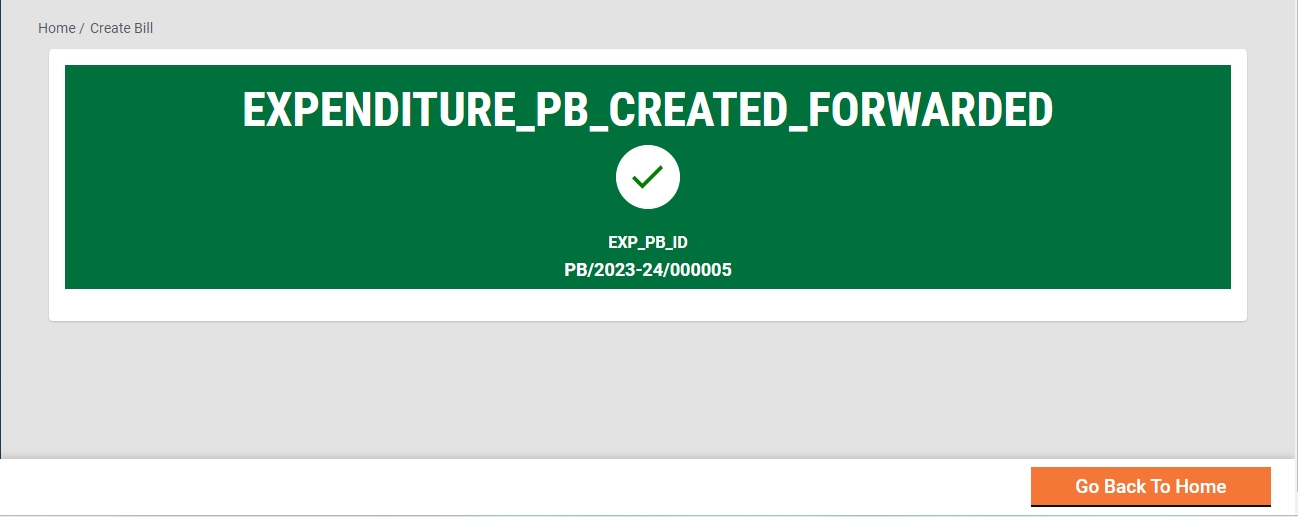
On successful completion, the success page is displayed along with the bill number.
Workflows
Creator
The Bill Creator (BC) is responsible for creating and forwarding the Purchase Bill along with the relevant documents uploaded.
BC can -
Create and forward purchase bill
Edit purchase bill
Create and Forward
The Bill creator (BC) has the right to create a bill for a project and then forward it to the verifier. On creation, the BC gets the forward dialogue box from which the user optionally selects the verifier’s name as the assignee name, adds the comments if any, and then forwards the bill.
On forward, the bill is forwarded to the verifier and the success page is displayed with the success message and bill number.
Edit
The bill creator (BC) has the right to edit the bill in case the bill is sent back for any correction.
The bill pending correction is available in the Inbox. Else, search for the bill using the search bill.
Click on the bill number to open the bill and view the details.
Select the Edit from the Take Action. Bill is opened into editable mode.
Verifier
The Bill Verifier (BV) is responsible for verifying the bill and supporting documents uploaded.
BV can
Verify and forward Bill
Send Bill back to BC
Verify and forward
The BV verifies and forwards the Bill if the documents and information provided in the Bill is found satisfactory and complete. To verify and forward the Bill
The bill pending verification is available in the Inbox. Else, search for the bill using the search bill.
Click on the bill number to open the bill and view the details.
Select the Verify and Forward from the Take Action. A pop-up window is opened.
Select the approver’s name as Assignee Name.
Provide any additional information for the assignee in the comments section.
Click on the Choose Files button to upload any supporting documents.
Click on the Verify and Forward button. The bill is forwarded to the approver.
Send back
BV can send the Bill back to the BC for any corrections or if any vital document has not been uploaded. To send the Bill back to the BC.
The bill pending verification is available in the Inbox. Else, search for the bill using the search bill.
Click on the bill number to open the bill and view the details.
Select the Send Back from the Take Action. A pop-up window is opened.
State the reasons for sending the bill to BC in the comments section.
Click on the Choose Files button to upload any supporting documents.
Click on the Send Back button. The bill is placed into BC’s inbox and the bill is enabled for editing.
Approver
The Approver verifies the bill and if the documents and information provided in the bill are found satisfactory, complete, and as per the guideline, the bill is approved.
Approver can -
Approve the bill
Send the bill back to BV
Send the bill back to BC
Approve
The bill Pending Approval is available in the Inbox. Else, search for the bill using the search bill.
Click on the bill number to open the bill and view the details.
Select the Approve from the Take Action. A pop-up window is opened.
Provide any additional information in the Comments section.
Click on the Approve Files button to upload any supporting documents.
Click on the Approve button. The bill is approved.
Send Back
To send the bill back to the BV
The bill pending for approval is available in the Inbox. Else, search for the bill using the search bill.
Click on the bill number to open the bill and view the details.
Select the Send Back from the Take Action. A pop-up window is opened.
State the reasons for sending the bill back to the BV in the comments section.
Click on the Choose Files button to upload any supporting documents.
Click on the Send Back button. The bill is placed into BV’s inbox.
Send back to the originator
To send the bill back to the BC
The bill pending approval is available in the Inbox. Else, search for the bill using the search bill.
Click on the bill number to open the bill and view the details.
Select the Send Back from the Take Action. A pop-up window is opened.
State the reasons for sending the bill back to the BC in the comments section.
Click on the Choose Files button to upload any supporting documents.
Click on the Send Back button. The bill is placed into BC’s inbox and the bill is enabled for editing.
Last updated
Was this helpful?